Mandy of What The Fruitcake?! came to our rescue last minute to present us with the Battenberg Cake challenge! She highlighted Mary Berry’s techniques and recipes to allow us to create this unique little cake with ease. If you want Mandy's wonderful recipes, click here.
The challenge this month was one of my favorites. Although we were given quite a specific item to make, Mandy gave us all kinds of creative freedom. First here is a little background about Battenberg cakes that I am quoting from Mandy's challenge.
The first Battenberg cake was made to celebrate the marriage of Queen Victoria’s granddaughter, Princess Victoria, to husband Prince Louis of Battenberg.
It’s traditionally flavoured with almond and has the signature Battenberg markings, that is, the yellow and pink squares (said to represent the four princes of Battenberg). The strips of sponge are glued together using jam (normally apricot) and the whole cake is covered in marzipan. Sometimes the edges are crimped and the top is patterned with a knife.
The cake is thoroughly English but being thoroughly American, I looked around for something that would appeal to my crowd. I had a copy of Better Homes and Gardens magazine (yes, I am a magazine addict) that featured a Pink Lemonade Cake on the front cover. The cake looked so refreshing, light and summery that I knew I would have to make it. The recipe is courtesy of Karen Tack who along with Alan Richardson, has written some fun books about cupcakes and most recently cookies and cake pops. Although I was not fond of the recipes in their books, I found their creative ideas of decorating wonderful and accessible. Looking at the recipe, I was dismayed that it used red food coloring but I decided to go ahead and try it but use frozen pink lemonade and as little pink food color as possible.
The cake was really easy to make and I loved that the Battenberg is not a large cake. The recipe actually makes two cakes and that was great for sharing. Also, I felt like it was gone before it had a chance to go stale. I strayed from the traditional technique quite a bit so don't go looking for authenticity here. I used a cream cheese icing to glue everything together and covered the whole thing in fondant. I used Albert Uster's Massa Grischuna Neutral fondant. I LOVE this fondant. You can roll it thinly and it has a lovely buttery taste to it. You will also notice that I used an impression mat to make a pretty floral design on the fondant. Wilton makes several designs in impression mats and I love working with them as they are large and easy to use. I am going on and on so I should just shush up and give the recipes with pictures.
Don't be afraid to try this cake. You will be surprised, I think, how easy, delicious and dramatic a dessert the Battenberg is to make. Mandy, please forgive this Yank but I believe I am going to use my stars impression mat and make this cake red, white and blue for Independence Day! Living in Boston has made an upstart of me.
 |
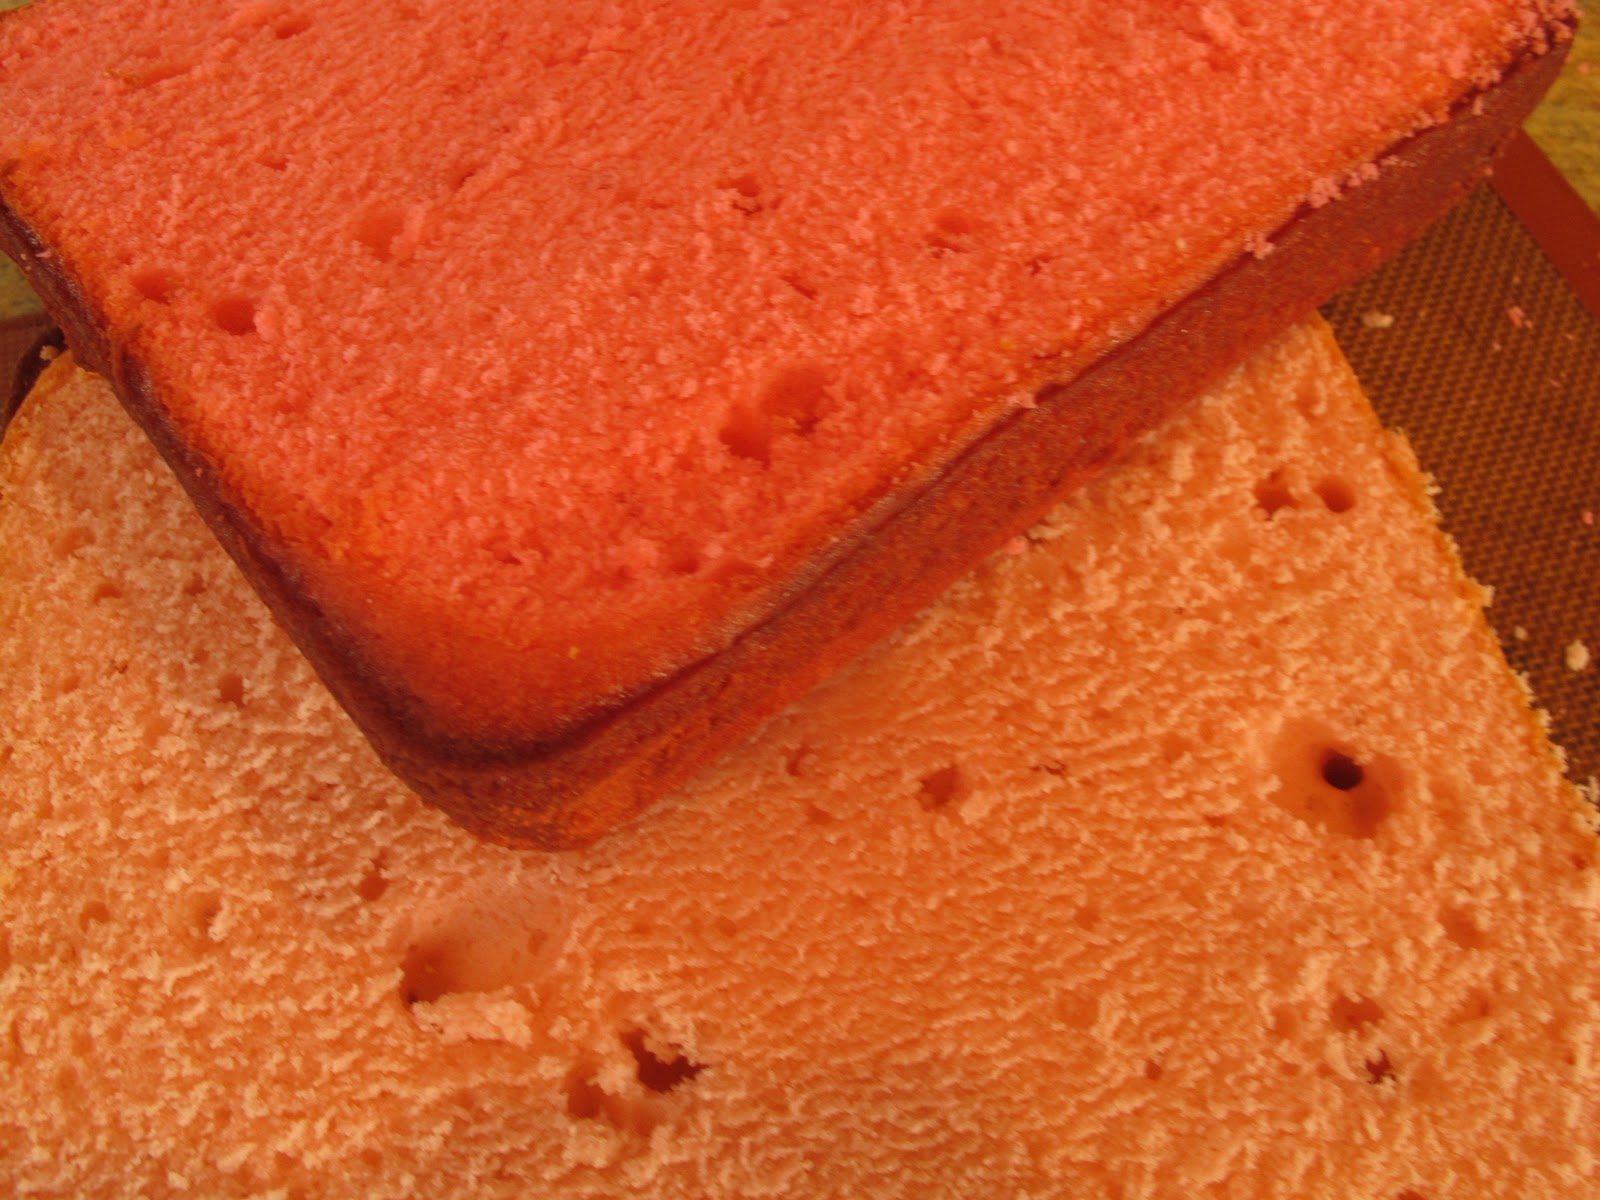
| One Batter...Two Colors |
Pink Lemonade Cake
2 cups sugar
4 large eggs, room temperature
3 1/2 cups all-purpose flour
1 tablespoon baking powder
1/2 teaspoon salt
1/4 cup frozen pink lemonade concentrate, thawed
1/2 teaspoon lemon extract
1 1/3 cups milk, room temperature
1/4 teaspoon pink food color
Sift together the flour, baking powder and salt. Set aside for later.
In a large mixing bowl or stand mixer fitted with the paddle attachment, beat the butter on medium speed. add sugar slowly and continue to beat approximately five minutes. scrape the inside and bottom of the bowl with a rubber spatula.
Add eggs one at a time beating well after each addition, scraping the inside and bottom of bowl often.
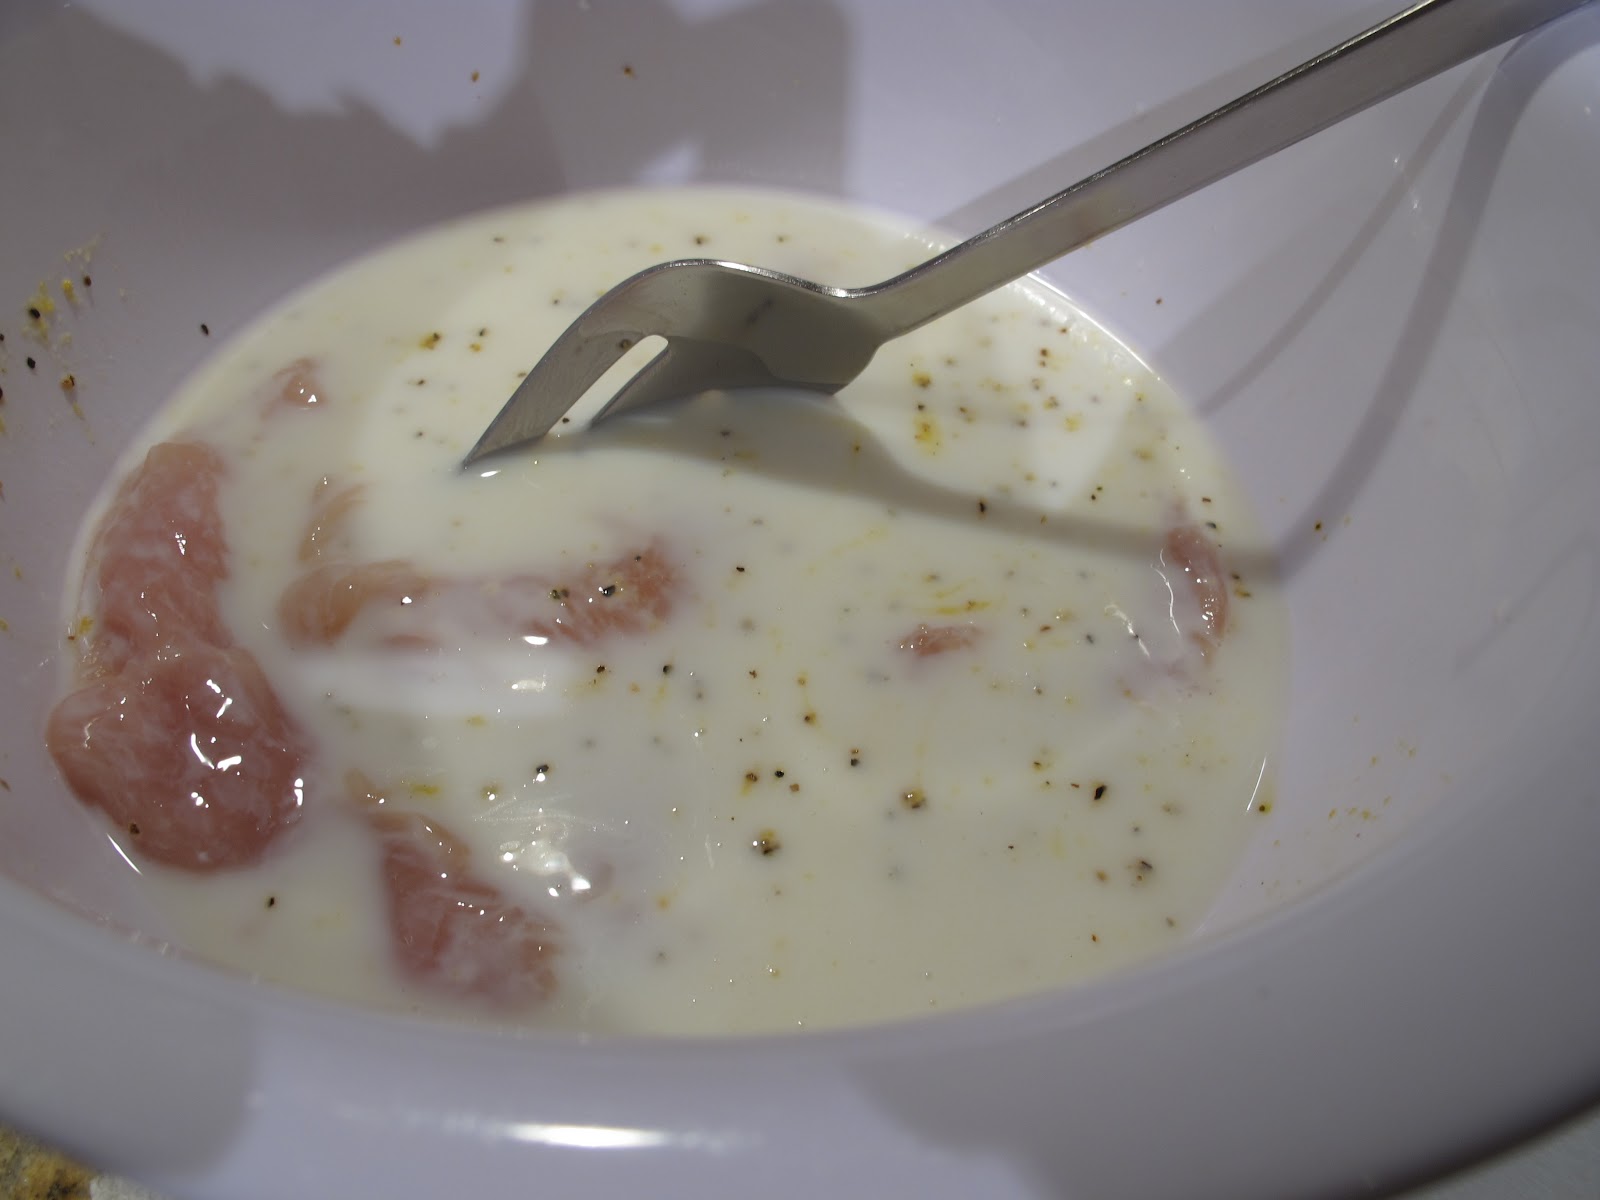
In a separate bowl, stir together the milk, lemon extract and pink lemonade concentrate. The mixture may look curdled.
Alternately add the flour mixture and milk mixture to the butter mixture on low speed until just combined. Add 1/8 teaspoon pink food color.
Pour half the batter into prepared pan. Add another 1/8 teaspoon food color to the remaining batter and pour into other prepared pan.
Bake approximately 25 to 30 minutes or until a toothpick inserted in the center comes out clean. Remove to a wire rack and cool 10 minutes. Remove cakes from pan onto wire rack and cool completely before decorating.
 |
| Thin consistency Icing is best for frosting a cake! |
8 ounces cream cheese, softened
3 cups confectioner's sugar, sifted, if opened package
2 teaspoons vanilla extract
pinch salt
Heavy cream - optional

 |
| Wilton's Floral Expressions Impression Mat |
Once the cake is completely cool, trim the edges of the cake with a long serrated knife.Cut each colored sponge in half lengthways so that you are left with four long strips of sponge Neaten the strips and trim as necessary so that your checkered pattern is as neat and even as possible. Spread the frosting onto the strips of cake to stick the cake together in a checkered pattern (one light pink next to one darker pink. On top of that, one darkeer pink next to one light pink).
Cover the entire cake in frosting and chill. Covering the cake in fondant is easier if the frosting is firm.Roll the fondant about 1/8 to 1/16 inch thick and cover the cake. Smooth the sides with a fondant smoother working from the top downward. If you want to use an impression mat, roll the fondant a little thicker, transfer to the mat, press firmly with your hand or fondant smoother. Invert the impression mat over the cake, centering it so the fondant drapes evenly over the cake, and peel away the mat. Smooth gently so as not to remove the impression detail.
To smooth any wrinkles at the bottom, lift the fondant away gently fluffing as you would a tablecloth. Never pull on the fondant. Don't stress if there are a few wrinkles at the bottom though. The cake will taste just as yummy and you can hide them with a lovely garnish of edible flower petals, mint or perhaps some handmade sugar flowers.
 |
| Completed Cake with Royal Icing Flowers on top |